Android
Here you will find all the necessary information for you to download, register and use the app.
We thank you in advance for taking part in our study and wish you happy tracking!
Downloading the app
1. Click the following link to access the app on Google Play: Catch My Day
2. The app should now appear, bearing the same symbol as seen above.
3. Next to the symbol, click install, and the app will be installed.
You are now ready to create your account!
Creating your account
Once the Catch My Day app is installed on your smartphone, you will be able to register and create your account.
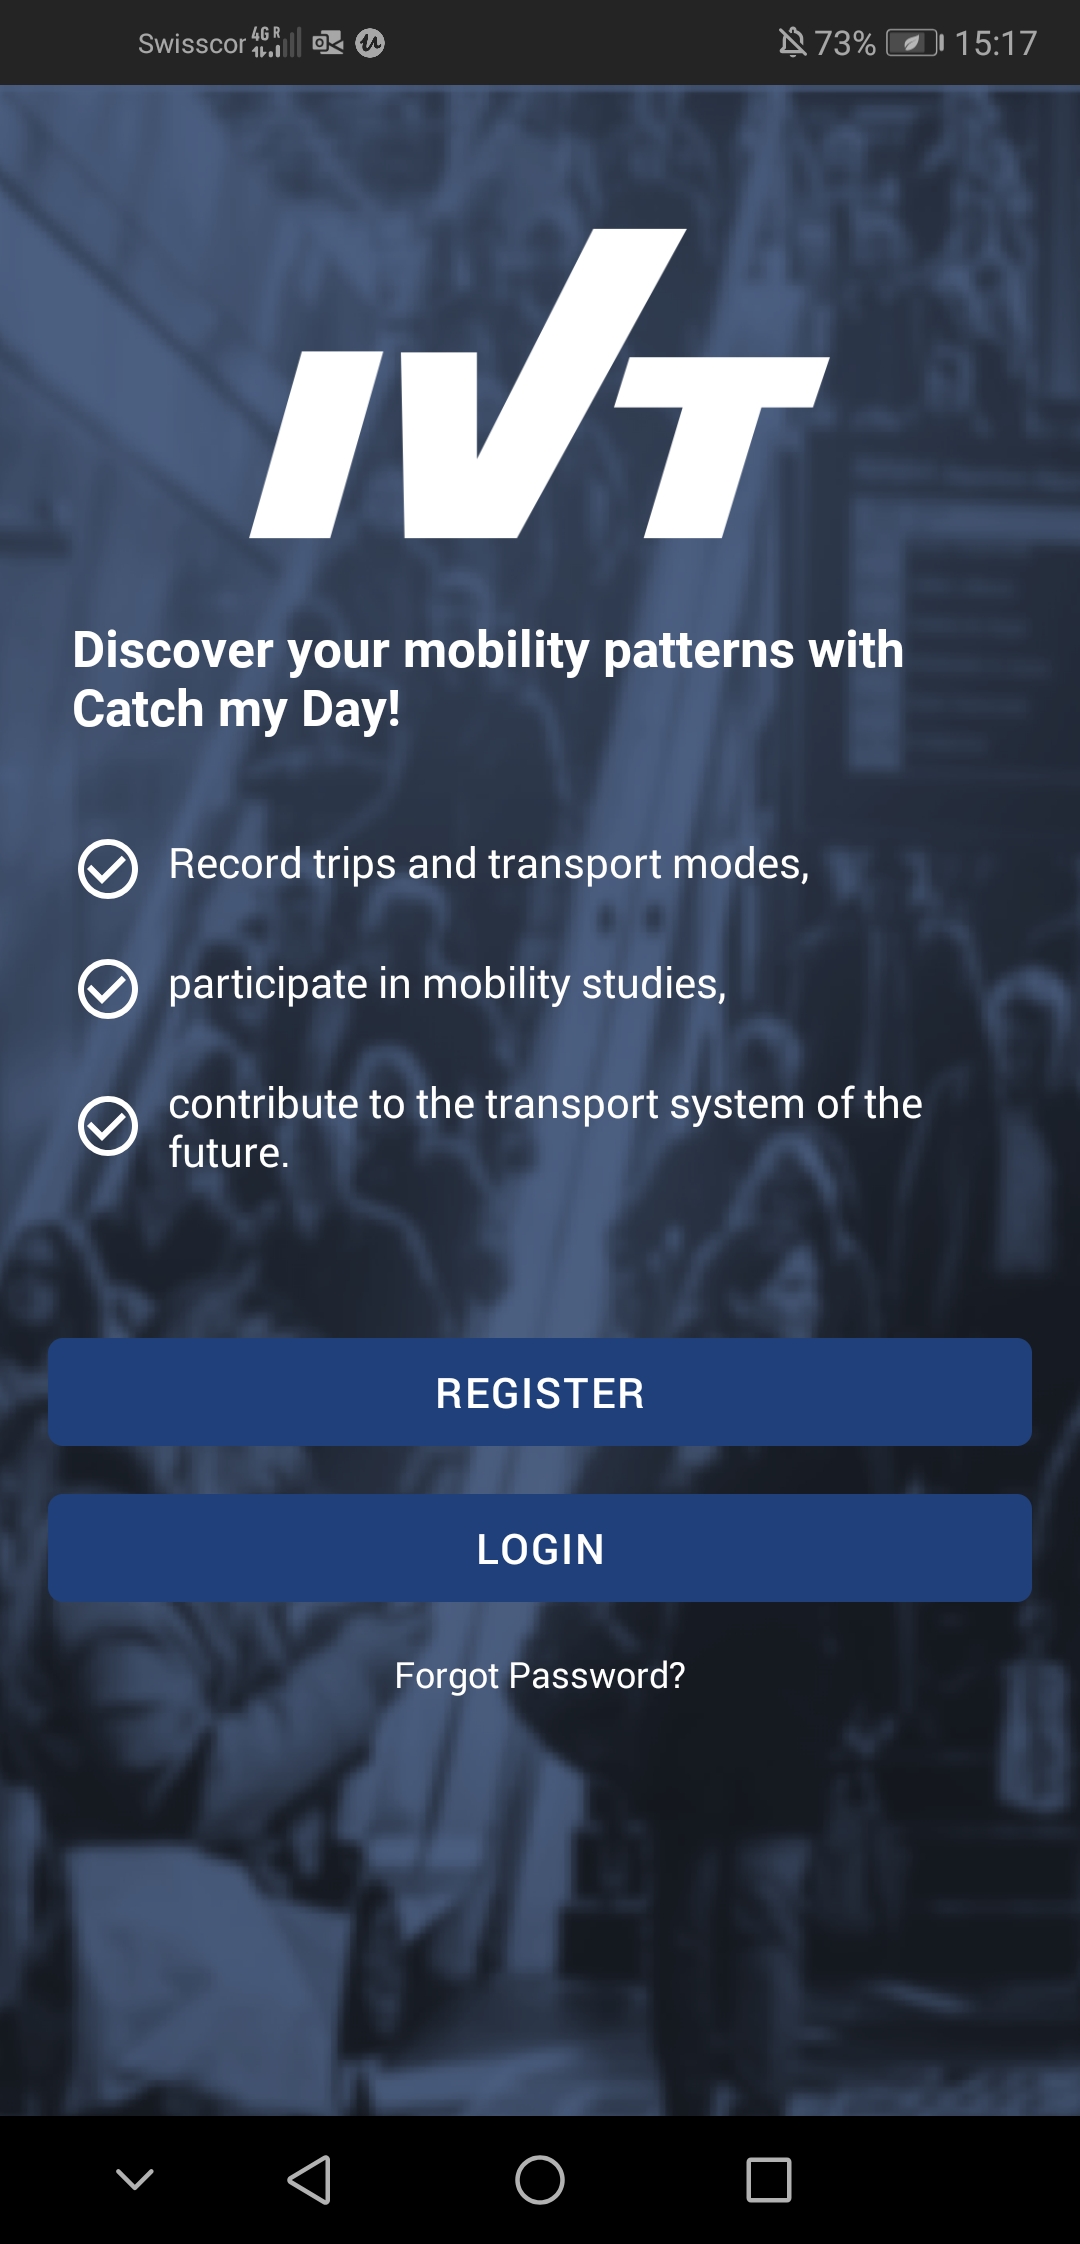
- Open the app (Figure 1 should appear).
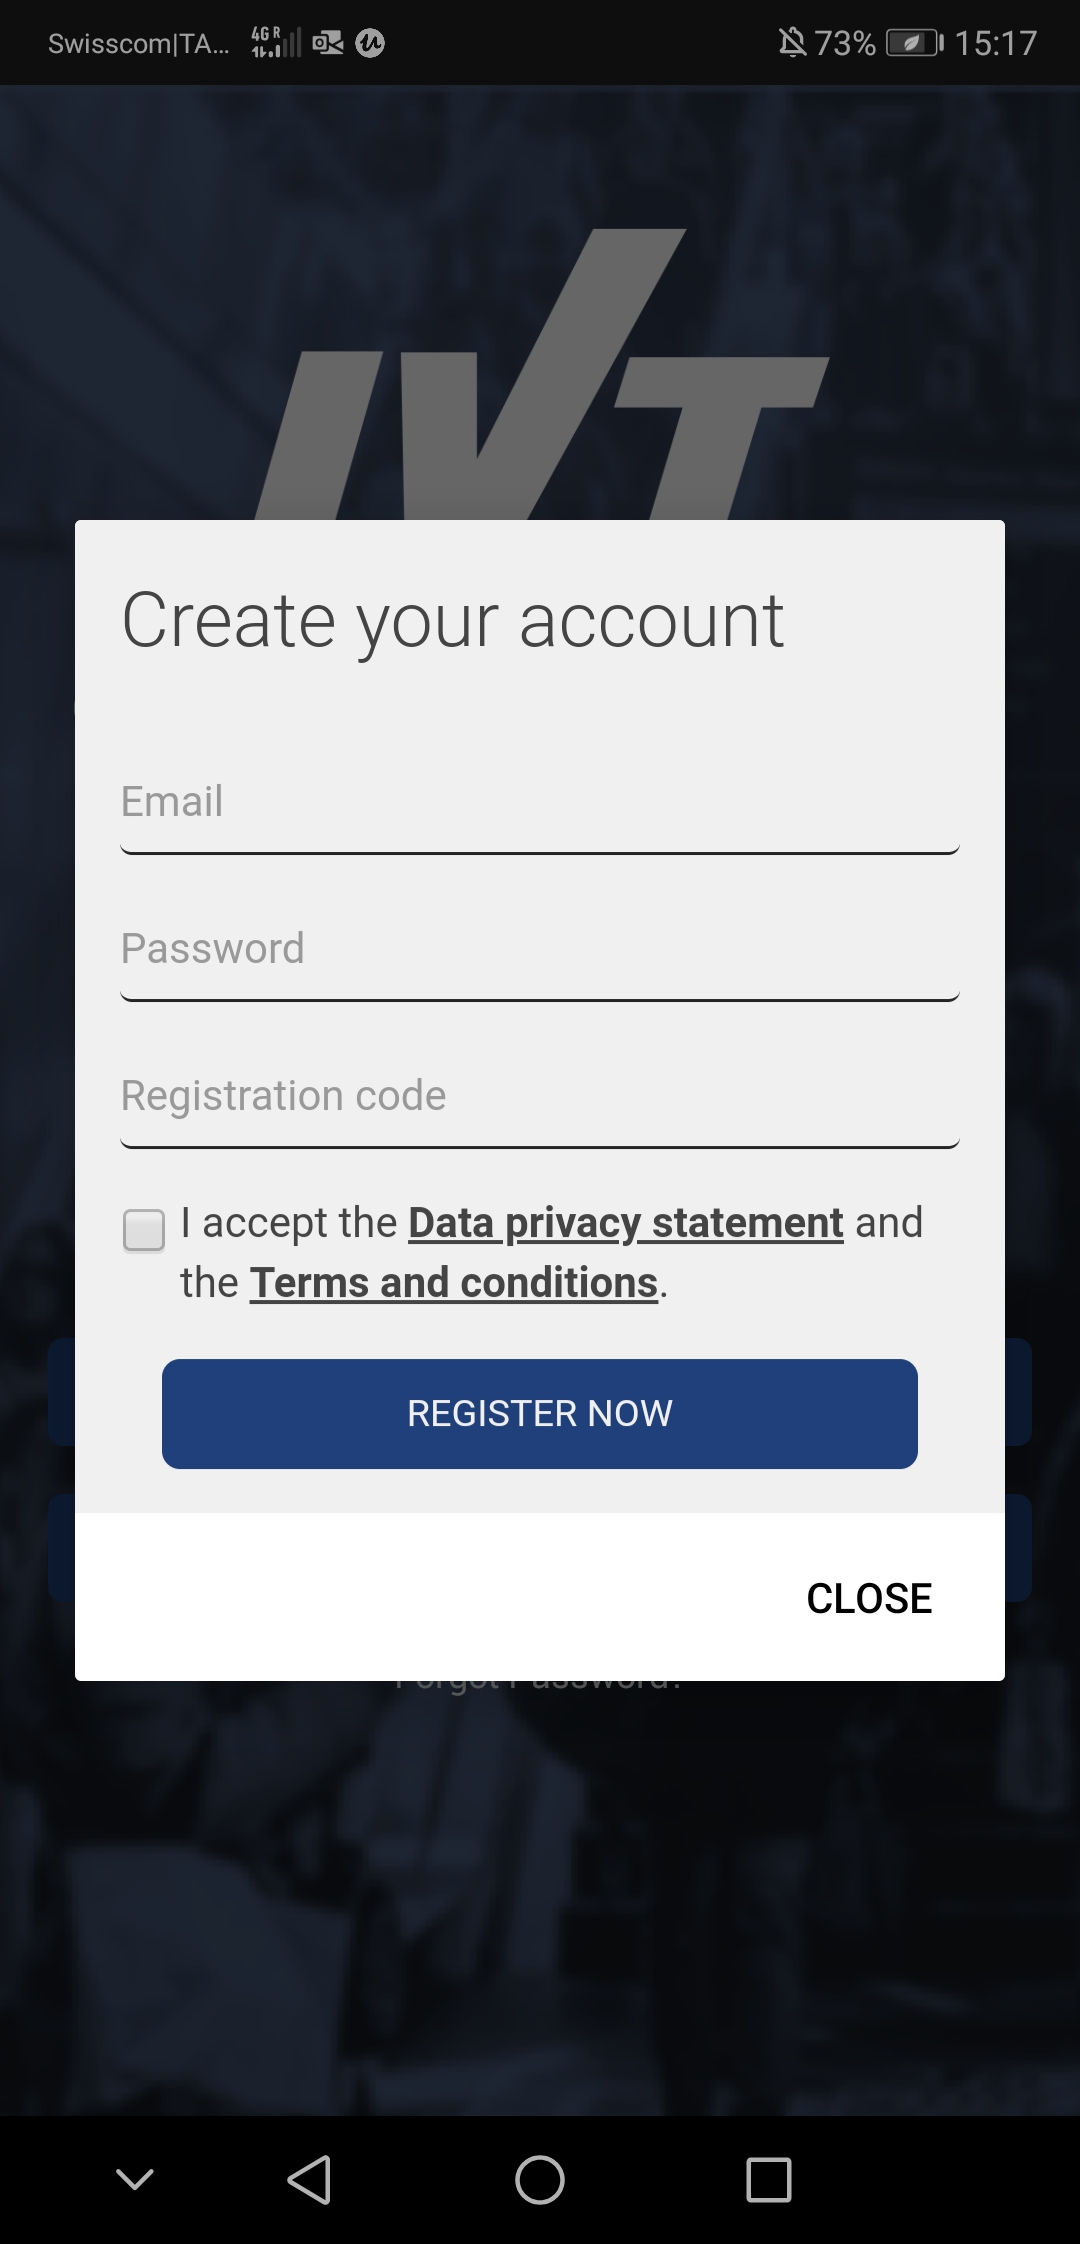
- Click REGISTER (Figure 2 should appear).
- Enter
- your email address
- a password of your choice (minimum 6 characters)
- your registration code (i.e. your participant ID, in CAPITALS)
- Read and agree to the Data Privacy Statement and T&Cs.
- Click on REGISTER NOW.
You will then receive a confirmation email from catch-my-day@motion-tag.com. Simply click onto the attached link and you will have successfully created and activated you account!
You are now ready to log into your account!
Logging into the app
Now that you have successfully created and activated your account, please:
- Open the app
- Click on LOGIN
- Enter
- your email address
- the password you chose when creating your account
- Log in
You now should be successfully logged into your account.
At this point, you will likely be asked by the app to enable some settings. Please read the settings section for a detailed explanation on how to correctly set up the app on your smartphone.
Once everything has been correctly set up, you can safely put your phone back into your pocket. The app will now track, process, and assign a mode of transport or activity to your trips with the help of an algorithm. This process may take several hours and sometimes a couple of days. As soon as the mode has been assigned, the tracks will appear in the app.
Please read the validation section for more information on how to validate your tracks.
Setting up you smartphone
New versions of the Catch My Day app are regularly made available. Please make sure you have the most recent version installed on your phone.
First login
When logging into the app for the first time, you will likely be asked by the app to enable some settings.
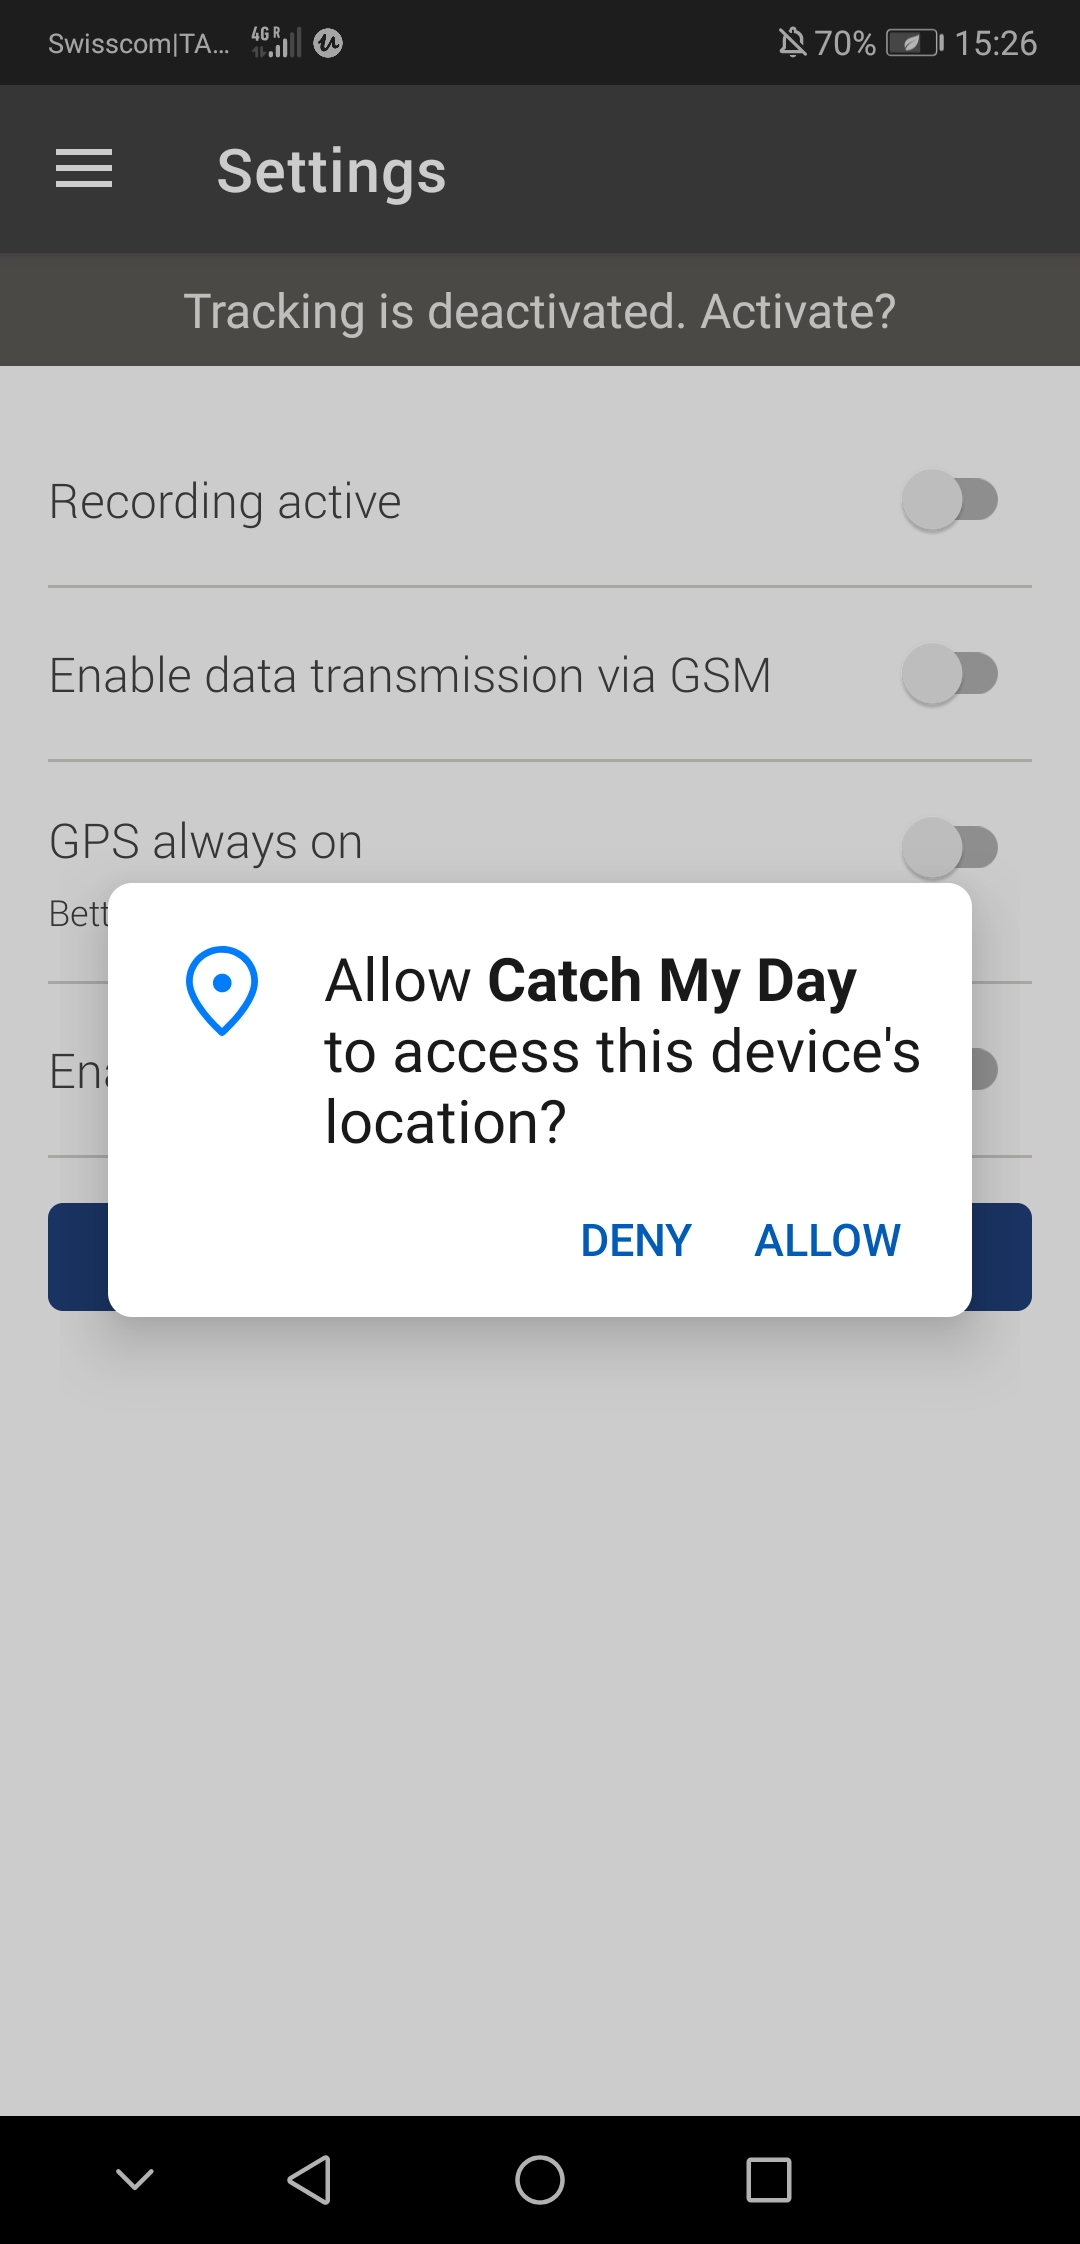
- Set the app’s location data permission to ALWAYS ALLOW.
- Enable push notifications (highly recommended). Do not worry about being overwhelmed with notifications, you will only be notified if there are new tracks to be validated.
- Pair the app with your fitness app, if available. This will improve the quality of the recorded tracks.
Critical settings
The MUST settings for Android are the following:
- In the app settings: the Tracking active option must be activated. It is not necessary to have GPS always on.
- In phone settings:
-
Make sure that the app is allowed to use your location.
Settings > Apps > Catch My Day > Permissions > Location ON. -
Make sure that you have not activated any battery-saving mode that is preventing the app from functioning.
Settings > Device maintenance > Battery
-
Make sure that the app is allowed to use your location.
Additional settings for Huawei, Xiaomi and OnePlus devices
Some smartphone models, in particular those produced by Huawei, Xiaomi and OnePlus, restrict apps with background activity such as the Catch My Day app. By default, these devices activate the battery-saving mode either from the start or after inactivity in the app, resulting in an immediate stop of tracking. To undo this, you will have to change your settings to prevent your device from automatically closing the app.
- Open the settings of your device and select Battery.
- In the Battery menu, select Battery Performance Optimization.
- Make sure that all apps are displayed and click on Catch My Day.
- Select Do not optimize. The background activity of the app is now activated and the app is fully functional.
You might also need to apply the following changes to your settings.
Android 7:
- Open your device's settings.
- Access the list of Protected Apps.
- Find the Catch My Day app and set it to protected, which will allow it to keep running in the background.
You can find an example on Android 7 here.
Android 8:
- Open your device's battery settings.
- Access the App launch settings on your device.
- Set the setting for Catch My Day to Manage manually.
- Select all the options to allow the app to launch and run in the background.
Read more about how to change these settings on Android 8 here.
Android 10:
Android 10 comes with increased privacy features in the form of more granular location controls. You will now be asked if you want to grant the app access to your location all the time, even when the app is closed or running in the background. To ensure the Catch My Day app runs smoothly, please follow these steps:- On your phone, go to Settings > Location > App permission for a list of all the apps installed on your phone that have location permissions.
- Select the Catch My Day app.
- Set the location access to Allow all the time.
Read more about how to change location permissions on Android 10 here.
WIFI Connection
By default, the app only transfers data over WIFI to minimize your cellular data usage. In case you rarely have WIFI access, you can turn on the cellular data transmission in the app settings to enable the app to function as intended.
Validating your trips and activities
To see and validate your recorded data, please go to the calendar in the app.
Please note that due to the way the trip detection works,
information on you last trips might appear with a delay in the app.
Navigating through the calendar
Figure 4 shows the calendar. A red dot will appear beneath the dates on which data has been recorded, but not yet validated. As soon as you have validated and confirmed your entries for a given day, this red dot will turn grey. The validated data will then be used in our study.
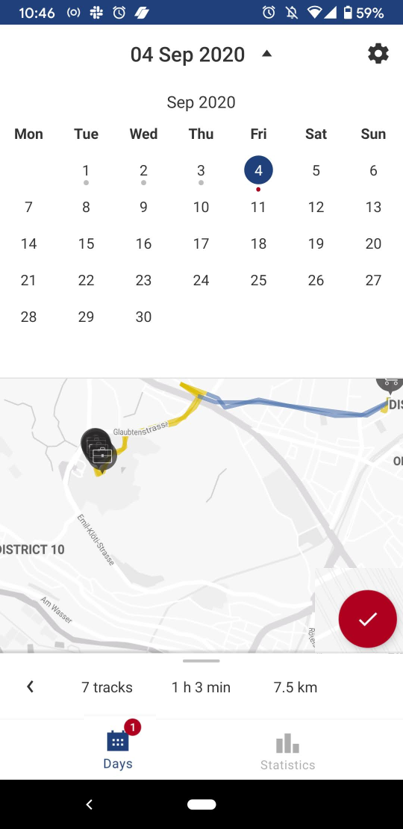
To access an entry, click on a date. You can also switch between consecutive days using the arrows in the white panel at the bottom of the screen.
Once you have selected a date, you should see a map of your trips in the upper part of the screen and a panel with the individual stages and activities in the lower part, as shown in Figure 5. Tip: If you do not see this panel, look for a white bar in the lower screen and drag it up. Select a stage or activity by tapping on it. You can also browse through the stages and activities by tapping on the left and right arrows.
Editing the mode of transport or activity
If the proposed means of transport or activity is not correct, first click on the entry and then on the edit icon below (Fig. 5). A list with various options will now appear. You will find a legend explaining each symbol in the next section.
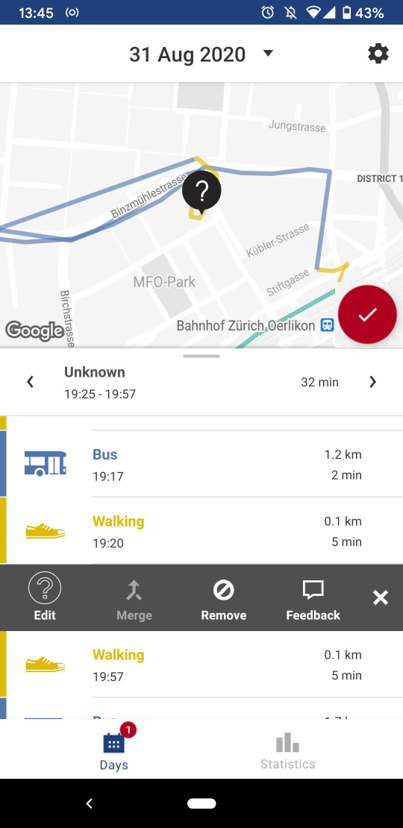
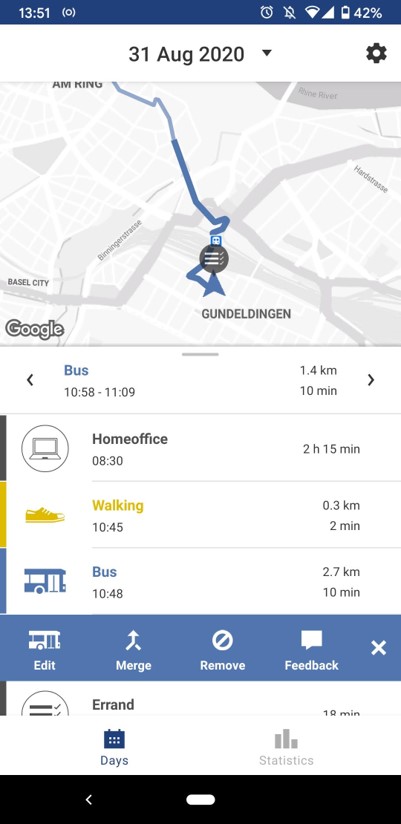
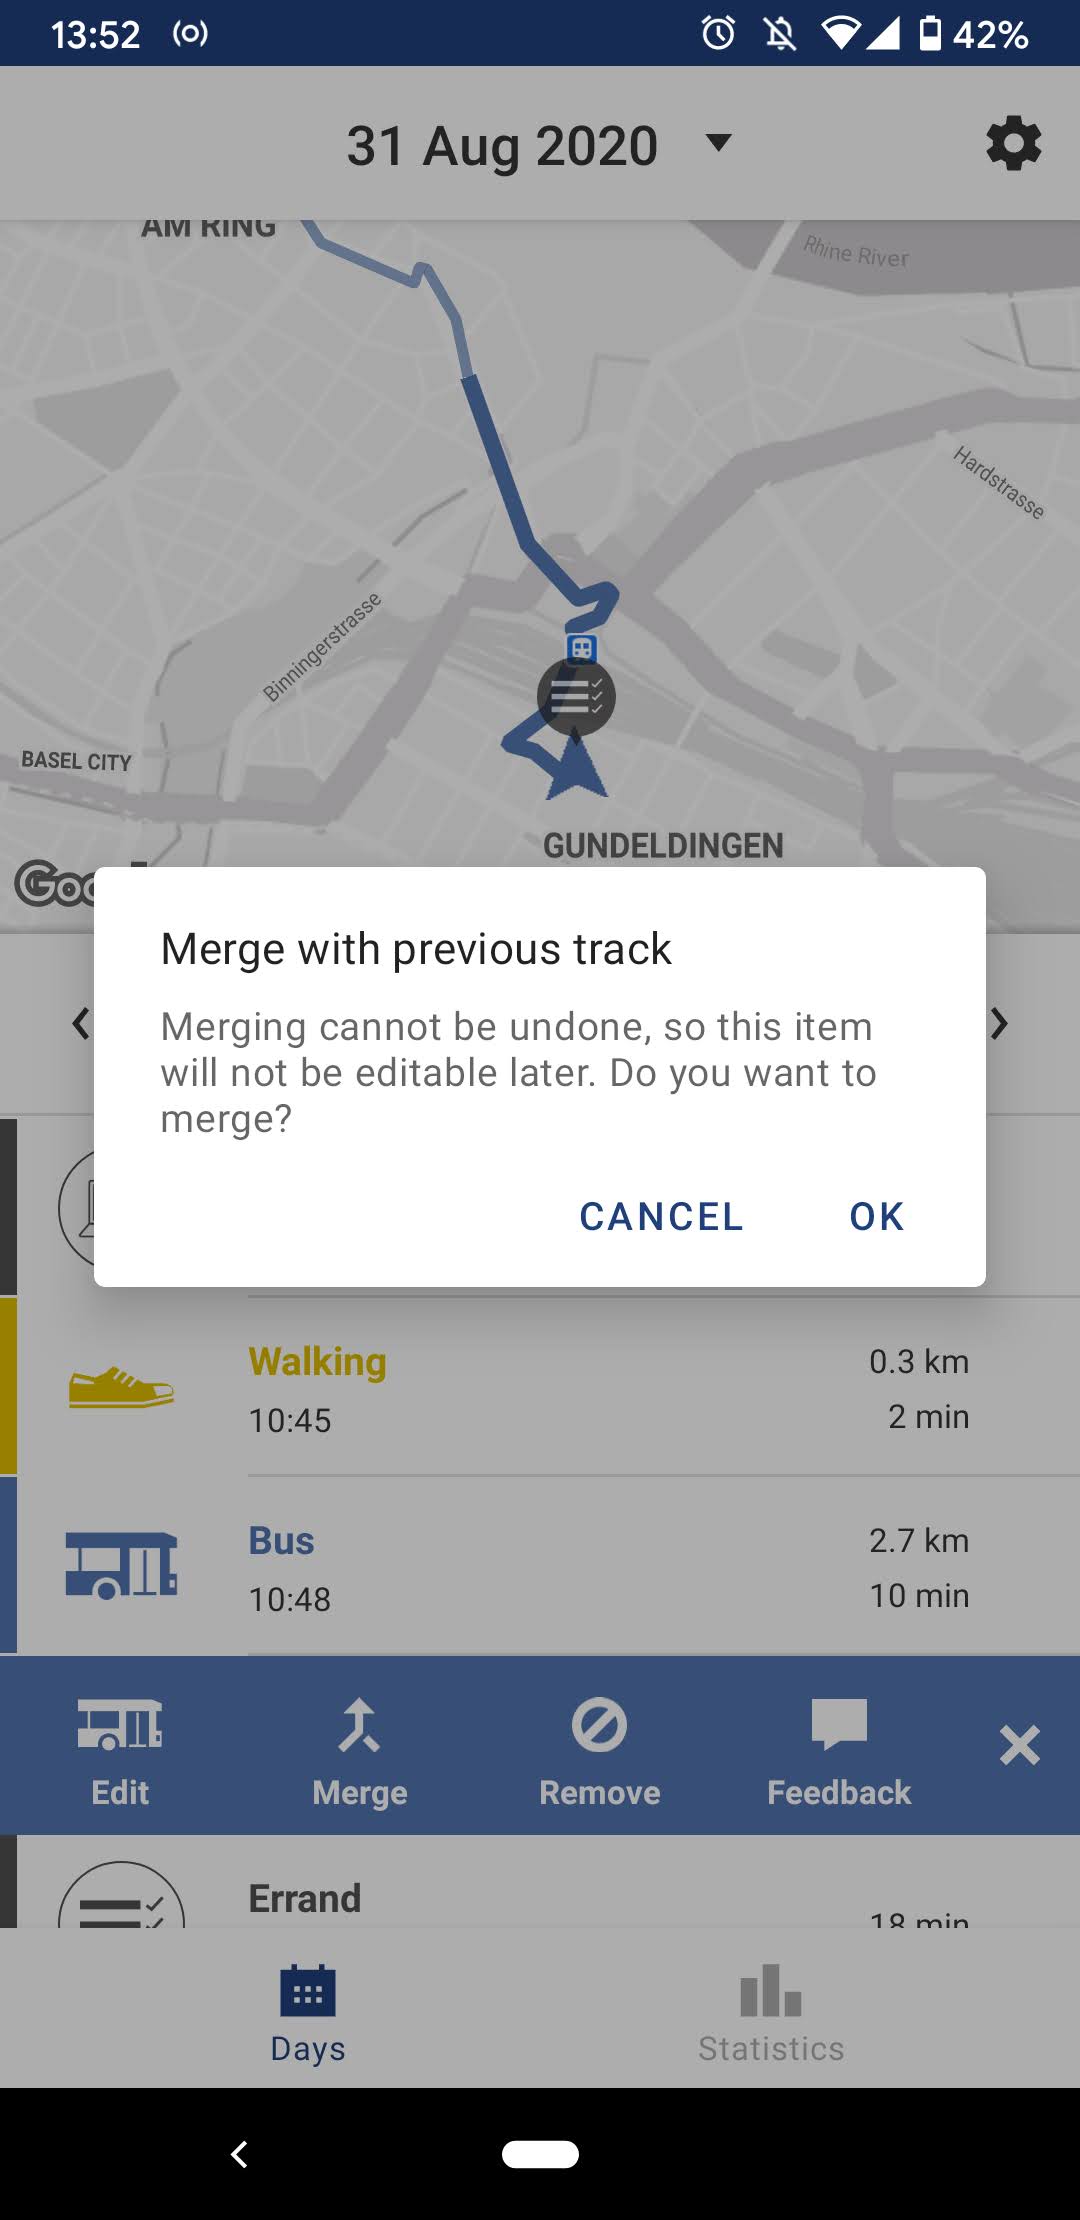
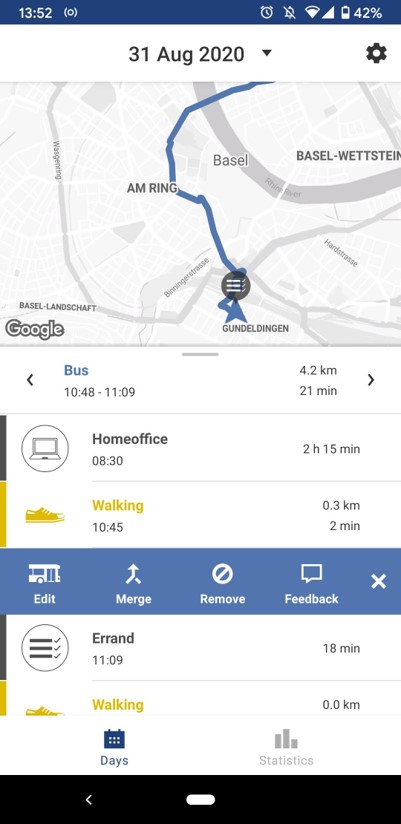
Merging two stages
The tracking algorithms may not always correctly recognise where a stage begins and where it ends (Fig. 6a). This is especially the case in slow moving traffic or where speeds change suddenly after a stop. For this reason, it is possible to combine two stages. To do this, tap on the second of the two stages and then on the merge symbol below. A warning will appear that this change cannot be undone (Fig. 6b). Confirm that you still want to make this change. The result is shown in Fig. 6c.
Deleting an entry and adding comments
It is possible to delete an entry which has not occurred.
You can do this by clicking on the entry, and then on the remove symbol below.
Please note that after you delete an entry, you will NO LONGER be able to access it in the calendar.
However, deleting data does not actually delete the raw data,
but simply tells us not to consider it in our study.
You can also add a comment by clicking on the feedback symbol.
Confirming your validation
Once you have clicked through all the stages and activities, the big red checkmark will disappear and the dot under the date in the calendar will turn grey. This indicates that the whole day has been validated.
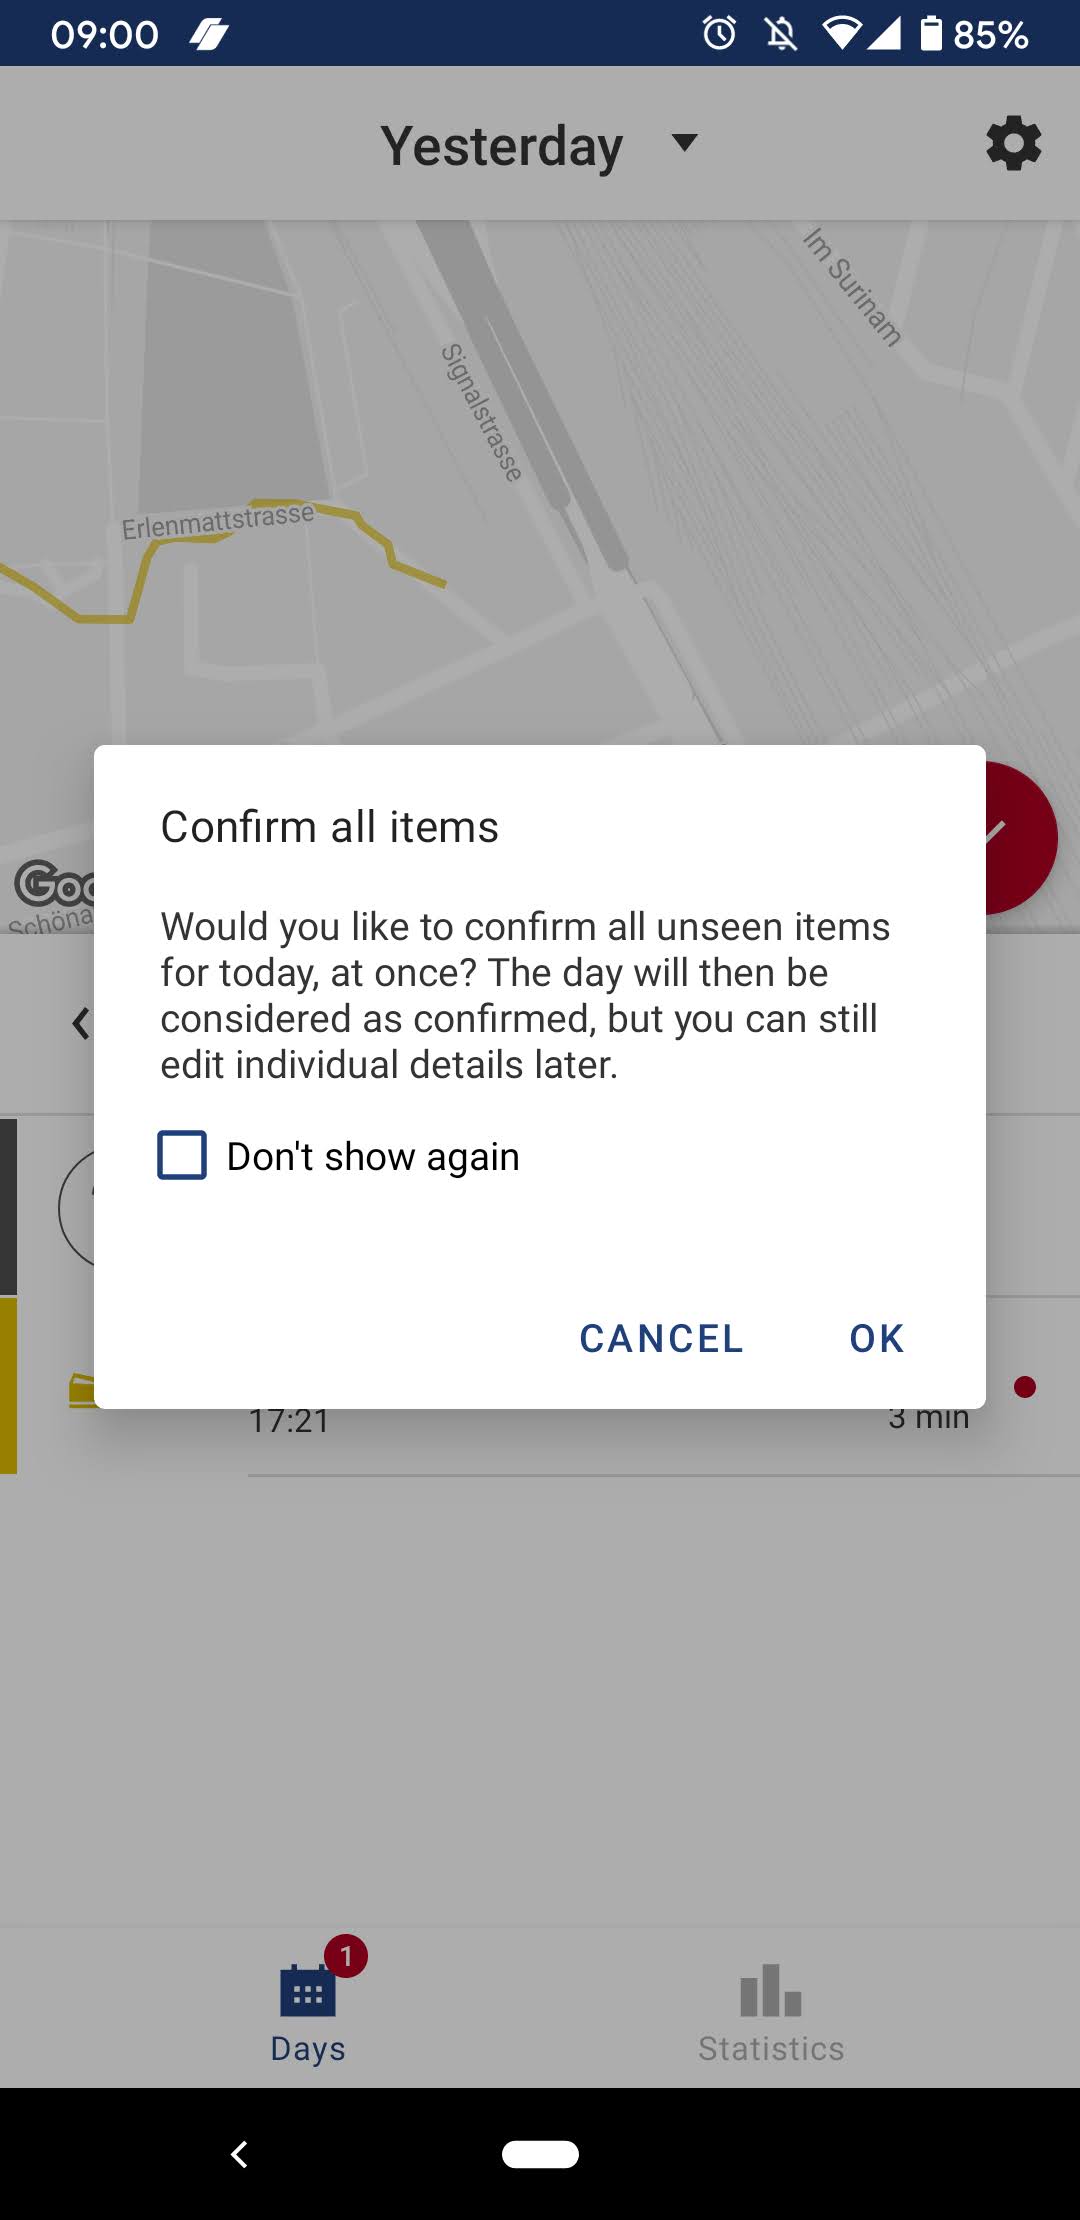
Alternatively, you can validate an entire day without clicking on each individual stage and activity by tapping directly on the big red checkmark. A pop-up window will appear (Fig. 7) asking you if you really want to validate all the stages and activities without having looked at them. If you are sure that the stages and activities are correct, then agree. The whole day will then be validated.
Changing your validation
After validation you can still modify the entries as often as you like.
Legend
Transport modes
Car
Car-Sharing
Taxi/Uber
Pikmi
Motorbike
Train
Regional Train
Suburban Train
Tram
Bus
Subway
Cablecar
Ferry
Airplane
Bicycle
E-bike
Bike-Sharing
Scooter
E-scooter
E-trottinette
Ski
Walk
Activities
Home
Work
Home-office
Coworking
Education
Shopping
Errand
Medical visit
Drop off / pick up someone
Restaurant
Family & Friends
Leisure
Sport
Waiting
Unknown
Remarks
Finally, here are a few recommendations to help improve the quality of the study results:
- Please do not turn the app off when you are not traveling, as this will affect the quality of the study results.
- You do not have to validate and confirm your entries every day, but it would be beneficial if you were to do it on a regular basis.
- If you do log out or happen to be logged out automatically from the app, you should make sure that you reactivate the tracking as soon as possible.